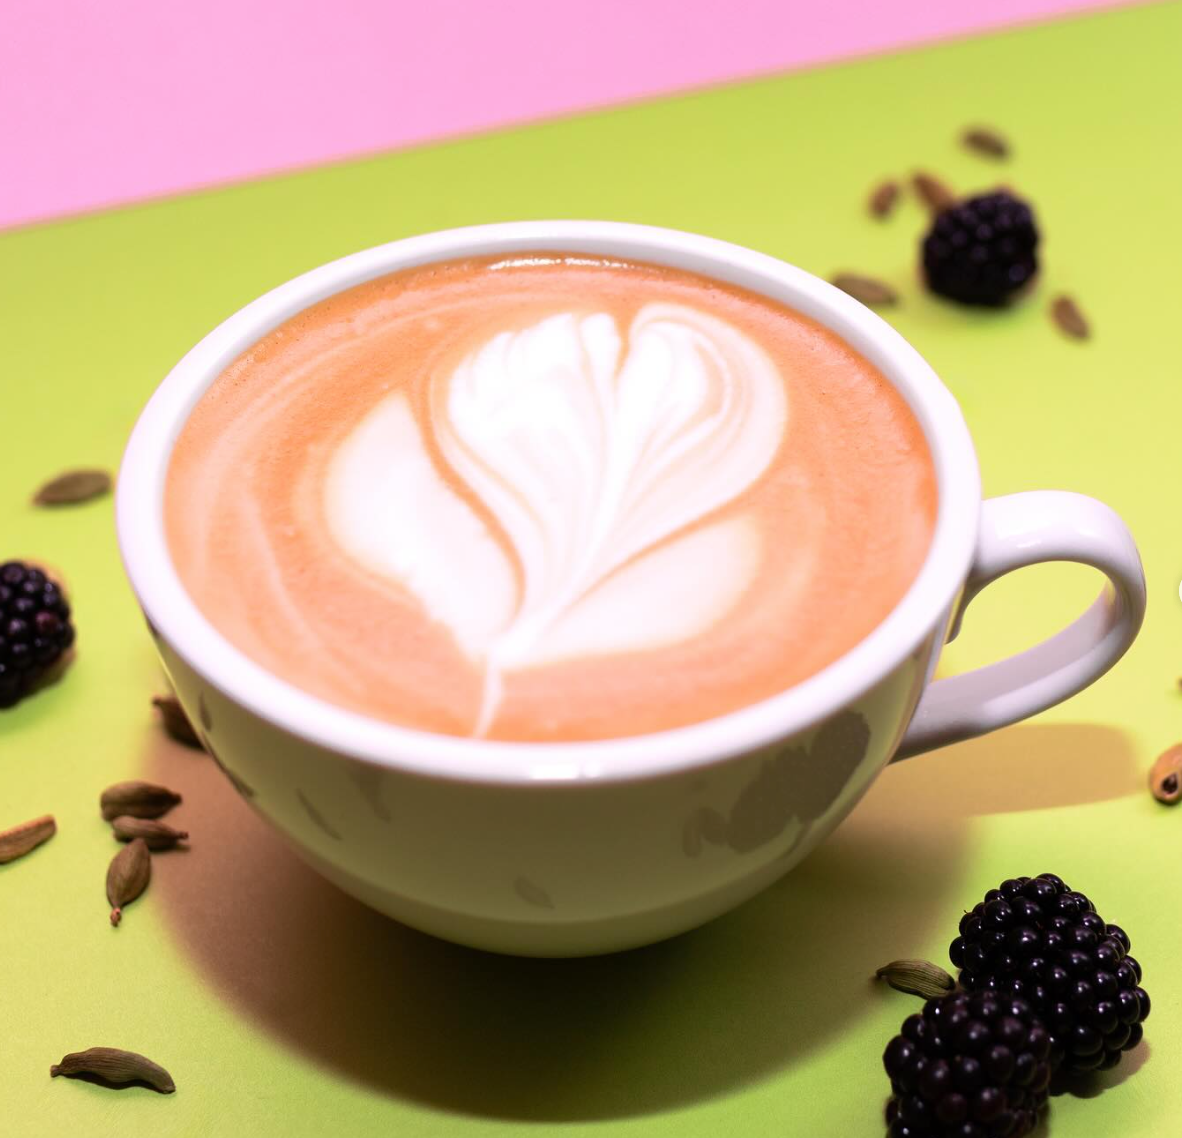
There’s something undeniably satisfying about sipping a latte with a perfectly poured heart or rosetta on top. And while it might seem like a skill reserved for professional baristas, we’re here to tell you that with a little practice (and a lot of patience), you can create latte art at home that’ll impress your friends, your family, and most importantly, yourself.
What You’ll Need
Before you start creating Instagram-worthy lattes, you need to make sure you have the right gear. Here’s your espresso-and-latte-art toolkit:
- An Espresso Machine: If you’re going to make great latte art, you need a solid shot of espresso with a thick, rich crema (that creamy golden layer on top of a freshly brewed shot).
- A Milk Frother or Steam Wand: Whether you’ve got a full-on espresso machine with a steam wand or you’re working with a handheld frother, the key is getting your milk to that silky smooth microfoam texture.
- A Stainless Steel Milk Pitcher: This helps you control your pour and create those smooth lines that turn into hearts, tulips, and swans (eventually).
- Milk: Whole milk is the gold standard for frothing because of its fat content, which gives it that creamy texture. But don’t worry, if you’re dairy-free, oat milk or almond milk can work too—just know the foam might be a little less cooperative.
Step 1: Pull a Shot of Espresso
Latte art starts with a solid base: your espresso. If your espresso isn’t good, no amount of fancy milk-pouring will save it. Here’s what you’re aiming for:
- Fresh Beans: The fresher, the better. A smooth, rich espresso shot with a nice layer of crema is crucial for latte art.
- Tamp It Right: Make sure to evenly tamp your coffee grounds in the portafilter. Too loose, and your espresso will be weak. Too tight, and it’ll be bitter. Find that sweet spot.
- Nail the Timing: Your espresso should take about 25-30 seconds to pull. Too fast? Adjust your grind finer. Too slow? Make it coarser. This takes practice, but once you get it right, your espresso will be the perfect canvas for that frothy milk masterpiece.
Step 2: Froth Your Milk
Now, let’s talk about milk. The goal here is to create microfoam, which is that creamy, smooth texture that blends perfectly with your espresso. No big bubbles—just a silky, shiny foam that’s thick enough to float but thin enough to pour smoothly.
Here’s how to get it right:
- Cold milk froths better, so start with milk straight out of the fridge.
- If you’re using a steam wand, place it just below the surface of the milk to create foam. Once it starts frothing, lower the wand slightly deeper into the milk to heat it. You want to aim for around 150°F (if you don’t have a thermometer, aim for hot but not scalding).
- Using a handheld frother? Froth until you see the milk take on that smooth, velvety texture with small, fine bubbles. You’ll know you’re there when the milk looks shiny and feels dense.
- Once your milk is frothed, give it a good swirl in the pitcher to break up any large bubbles and create that glossy microfoam.
Step 3: The Pour
Now comes the fun part—the pour. This is where you get to flex your latte art skills (or laugh at your first few attempts, which is totally normal).
Here’s how to pour like a pro:
- Hold the milk pitcher in one hand and tilt the cup of espresso slightly with the other. You want to pour the milk slowly at first to mix the espresso and milk together.
- Once your cup is about half full, lower the pitcher close to the surface of the espresso. This is where the magic happens—pouring from too high will just create a mess, but pouring from close to the surface lets the milk form shapes.
-
To create basic designs like a heart, pour the milk into the center of the cup, and as you reach the end, give a quick little flick of the wrist to “pull” the milk into a point at the top. Hearts, tulips, and rosettas all follow this basic technique, with variations in how you move the pitcher and control the flow of milk.
- The more you practice, the better your latte art will get. Your first attempts might look more like blobs, but with time you’ll be pulling off rosettas like a pro.
Latte Art Tips for Beginners
- Practice with Water: If you want to practice your pouring technique without wasting milk and coffee, try pouring water into a cup of dish soap foam. It mimics the texture of frothed milk, and you can practice your pour without worrying about getting the perfect foam.
- Get the Right Texture: Perfect latte art starts with perfect foam. Don’t rush the frothing process—take your time to get that smooth, silky texture.
- Don’t Be Afraid to Fail: Trust us, your first few attempts will probably look like a Rorschach test. That’s okay! Keep practicing, and you’ll get better with every pour.
Creating latte art at home might seem like a daunting task, but with the right tools, some practice, and a little patience, you’ll be pouring hearts and tulips like a pro in no time.
Ready to give it a try? Stock up on No X in Espresso. Whether you’re pulling a shot at home or dialing in your machine at the café, No X delivers that rich, bold flavor you need to create the perfect base for your latte art masterpieces.
